


Reading Time: 3 minutes
cPanel Tutorial: Paper Lantern Walkthrough
I. How To Log In To cPanel
II. How To Create an Email Account in cPanel
III. How To Set Your Default Address in cPanel
IV. How To Set up an Autoresponder in cPanel
V. How To Set up Email Forwarding in cPanel
VI. How To Set up Email Filters in cPanel
VII. How To Enable Spam Protection in cPanel
VIII. How To Add an MX Entry in cPanel
IX. How To Use Webmail from Within cPanel
X. How To Change Your cPanel Password
XI. How To Update Your Contact Information in cPanel
XII. How To Change Your cPanel Theme
XIII. How To Change the Primary Language in cPanel
XIV. How To Add a Record With the DNS Zone Editor in cPanel
XV. How To Back up Your Website in cPanel
XVI. How To Use the Disk Space Usage Tool in cPanel
XVII. How To Create Additional FTP Accounts in cPanel
XVIII. How To Password Protect a Directory in cPanel
XIX. How To Use the IP Blocker in cPanel
XX. How To Set up Hotlink Protection in cPanel
XXI. How To Create a Subdomain in cPanel
XXII. How To Create an Addon Domain in cPanel
XXIII. How To Create a Domain Alias in cPanel
XXIV. How To Set up Domain Redirects in cPanel
XXV. How To Create a MySQL Database in cPanel
XXVI. How To Use the Index Manager in cPanel
XXVII. How To Create Custom Error Pages in cPanel
XXVIII. How To Set up a Cron Job in cPanel
- This tutorial assumes you’ve already logged in to cPanel, and are starting on the home screen.

- Now let’s learn how to setup a cron job.
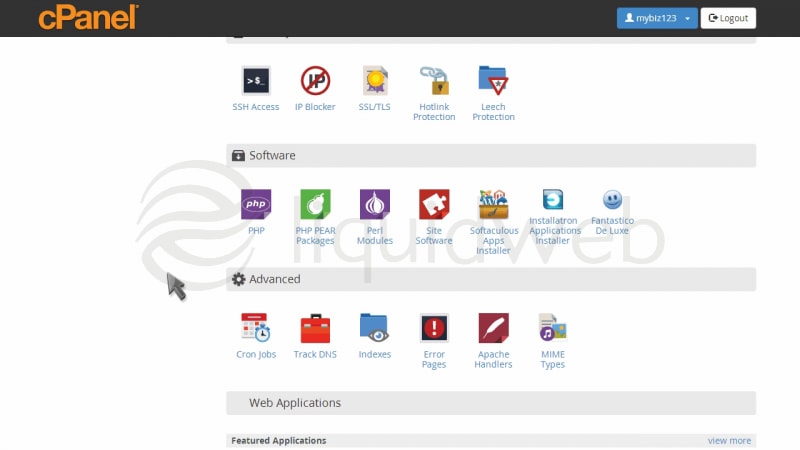
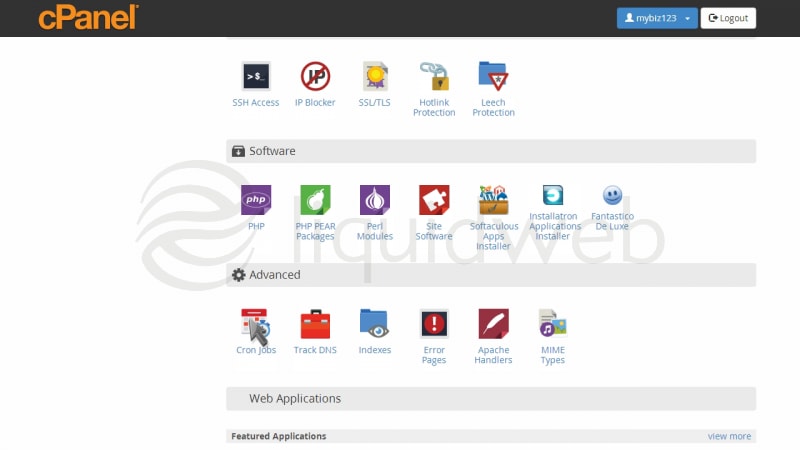
- Click the “Cron Jobs” icon.
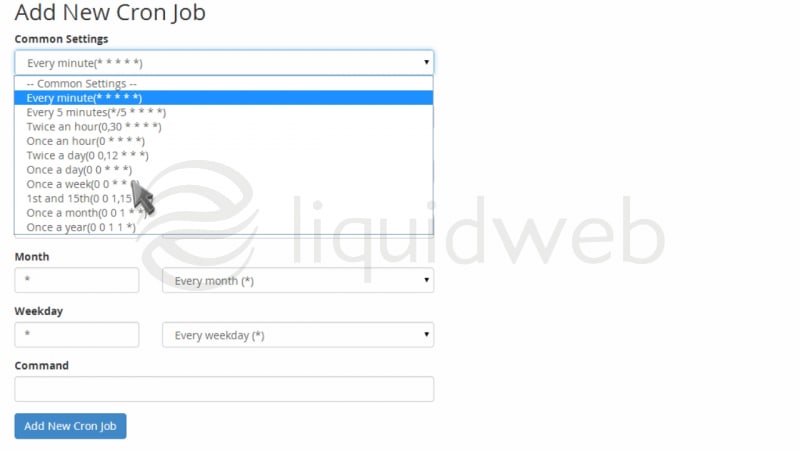
- Enter the email address where you want the cron job results sent after each time it runs.

- Now you have to define exactly when and how often you want the cron job to run.

- This is made easier by selecting one of the pre-defined common settings.

- Notice that by choosing a common setting, all fields are filled in automatically. This also helps you understand what each field means.
- Next, enter the command of the script you want to run, including the path (from root).
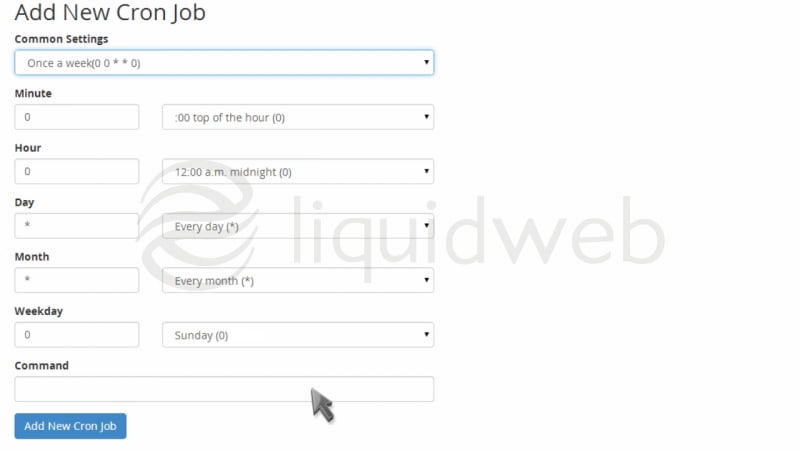
- Then click “Add New Cron Job”.
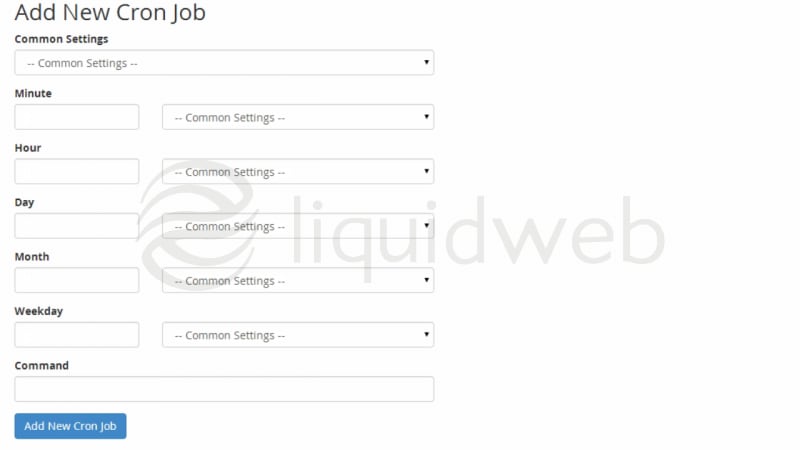
- That’s it! The cron job has been set, and will be listed at the bottom of the screen.
Related Articles:


About the Author: dpepper


Categories
Have Some Questions?
Our Sales and Support teams are available 24 hours by phone or e-mail to assist.
1.800.580.4985
1.517.322.0434
Latest Articles
Guide to Bare Metal Restore, Backup, & Recovery
Read ArticleHow to Upload Information to VMware through SFTP
Read ArticleAccessing Man Pages on Ubuntu 16.04 LTS
Read ArticlePremium Business Email Pricing FAQ
Read ArticleMicrosoft Exchange Server Security Update
Read ArticleWant More Great Content Sent to Your Inbox?